27 February 2014

Blossom Pattern 9: Assembly 2

All we have left on the shoes is gluing them together! I decided to try a leather sole for these shoes, but if you would rather use rubber soling material, there is an awesome tutorial on how to do this HERE. Also, if you get confused about my pictures, I am doing the same basic process as the video in the link for the outer sole, just using leather instead. The glue you are going to use is contact cement. (pictured at right)

For the insoles, I flipped the shoes inside out and applied glue to the seam allowance around the outside. Apply liberally. Also apply glue to the area just inside the sole area.


Then you will press them down to the bottom of the shoe, trying to avoid wrinkles so that it lays as flat as possible.Wait for the glue to become sticky, so that if you press your finger on it, strings will form as you take your finger away.


Next you will apply TWO layers of glue to both the sole area of the shoes, and to the bottom of the insoles. The extra layer is to ensure that the glue it not all soaked up into the threads of the fabric. Wait for the glue to become sticky.


Carefully place the insole on top of the sole piece, making sure it lines up well with all sides. If you align it poorly, you can peel it off and apply again, but make sure to work fairly quickly so that the glue does not dry too much. If this happens though, you can apply another layer of glue to both sides, wait for it to get sticky, and try again. Make sure to flip your shoes right side out and smooth out any wrinkles.


You should now wait for the insoles to dry fully before completing the next step. Read the labels on your glue, but mine says it will be bonded instantly, but reaches maximum strength in 7 days. I waited about 24 hours to make sure it was plenty dry. I was too impatient to wait longer, especially since I was just going to be gluing it again. :)


Stay tuned for the leather part of the soles!

Happy cobblering!

26 February 2014

Blossom Pattern 8: Assembly 1

Now comes the best part, sewing all the pieces together!

We are first going to pin the uppers to the main sole piece (not insole).


And... sew around the outside, being very careful to maintain the 1/2 inch seam allowance.


Next, you will pin the heels to the main sole piece.What I found after sewing it together, was that the heel was a bit too roomy, so if you want you can pin it in the center back and then slip your foot into it and line the heel up to the sole where it feels comfortable to you. This is shown below, for clarification.


Here is what is looks like when it is sewed!
 

You can flip it inside out and try it on if you like! Check for good fit, and make any adjustments necessary, e.g. take it in a bit more perhaps.


Now flip it inside out again, and trim the thick white material down to 1/8 inch all around. This is to reduce bulk to the interior where your foot will go!


Finally, sew along the overlapped part of the seam, in the "ditch" between the piping and the main cloth. This will keep the shoe from sliding off too easily.


Now you are ready to glue it all together!

If anyone has been following these posts as I have been making them, I did end up going with leather for the soles, and I updated the materials post to let you all know what kind and how much and what not so HERE is a link to that post so you can get caught up to speed for the next step!


25 February 2014

How to Draw a Bunny

With March just around the corner, everyone is looking forward to spring! And what a better way to start it out with a cute bunny drawing! Spring is in the air, at least on paper!


For this tutorial, you will need:


  • A red Sharpie pen
  • A black fine tip Sharpie, or nice black gel type pen 
  • Nice paper, preferably card stock
  • The ability to draw triangles, circles and curves lines

Below is a nice Ed Emberly style follow along guide :)

Don't be afraid to mix up the proportions and colors! Try using highlighters instead for some pastel Easter bunnies!

24 February 2014

My Face Care Plan has Only 3 Natural Ingredients!

 Yup. Three ingredients for my entire face. Magic? I think so. Here is what I do to take care of my face using only 3 ingredients:


Clean: Baking Soda

Yup, the same basic stuff you use to bake tasty delights in the kitchen, or in toothpaste to clean your teeth.

I usually put maybe 1/4 to 1/2 tsp into my hand, and add just enough water to make a paste, and then I gently rub into my face. Careful, this is definitely an exfoliator, so be extra gentle!! As you rub it into your face, you can sort of feel it start to get oily as it picks up oils from your face. I rinse with water, and if my face still feels oily, I add a little more baking soda, and repeat the process.


Research shows, this stuff can prevent acne, lighten scars, and is both anti-fungal and antibacterial so it can also help prevent future pimples. It can also help treat eczema which I suffer from occasionally in the dry, winter months. Score!!

Acne Spot Treatment: Tea Tree Oil

Tea tree oil is a natural disinfectant. Some people use it in place of triple antibiotic ointment. It also helps to dry out your pimples. Some studies have shown that is is equally effective as 5% benzoyl peroxide, which it a common ingredient in spot treatment creams. It's good stuff! Make sure to use sparingly, as it (surprisingly) can over-dry your face. 

To use, I usually wet one of my "face scrubbies" with water, place it on top of the open bottle, and with my finger firmly over the opening in the little jar, I shake once to get a tiny (less than a drop) amount onto the cloth scrubbie, and apply to the areas that need it. Repeat until the pimple is gone! 

You can buy it HERE. It runs a bit pricey for my tastes, but I have been using the SAME BOTTLE for almost 2 years!! Disclosure: I use this as a spot treatment only for the most part, and only when I have an annoying, painful pimple i can't ignore. Not everyday. But still, it lasts much longer than you would think, and is way less expensive than some of the fancy pants brands out there!


Moisturize: Almond Oil 

I have gone back and forth between a couple different moisturizers, but this one seems to work the best for me, at least when it is winter. I may switch to aloe in the summer, when my face actually produces enough oils by itself for the most part. This is the brand I use. I think it is important to get Sweet Almond Oil, instead of regular almond oil, but I'm not sure why. Something about the smell, I think.

The thing I really like about it, is that is absorbs into my skin within minutes, and I don't have to feel mildly greasy all day. In addition, it acts as a sunblock so keep away harmful sum beam rays of death!

To apply, I simply put 1 drop of it into my hand, rub my hands together, and then lightly pat onto my face. I will rub it in a little, but very gently and after I pat it on, so that I don't get too much in any area.

Note: For those of you that use makeup, almond oil is great at getting rid of mascara and other eye makeup. It also moisturizes the eye area so that you can keep wrinkles away. YAY! I can't vouch for foundation and the like, since I don't use any.

23 February 2014

Most Popular Posts!

Here is a list of the posts that get lots of love!

Blossom Pattern
Make your own shoes!


How to Paint a Tree


Peanut Butter Play-Doh


Wedding Color Theme using Photographs

Want to Start at the Beginning of a Tutorial Series?

Here is a list of tutorials I made If you want to start at the beginning of a multiple part tutorial!

Felt Shoes
Make cozy wool shoes!


Make your own shoes! 

http://ceruleanjay.blogspot.com/2014/02/materials-for-simple-shoes.html 


Ruffle Skirt Pattern
Make your own skirt pattern!

http://ceruleanjay.blogspot.com/2012/04/diy-skirt-pattern-step-1-waistband.html


And make it your own!

http://ceruleanjay.blogspot.com/2014/01/how-to-turn-photograph-into-painting.html


How to Draw An Owl!

I'm at it again with the drawing tutorials! This time I made an owl using only simple shapes that anyone can draw! 

For this tutorial, you will need:


A blue Sharpie pen
 
A black fine tip Sharpie, or nice black gel type pen  

Nice paper, preferably card stock

   
The ability to draw triangles, circles and curves lines


Below is a nice Ed Emberly style follow along guide :)


Blossom Pattern 7: Sewing 3 (Heels)

For the heels, the first step is going to be sewing the center seam for both the blue and the white fabric.Sew these right sides together so they look like the picture below.


Flatten and press seams open. Cut wedges along seam to ensure seam allowance lays smooth. I top stitched the seams down on the white fabric to help keep it in place.


Next, pin your piping to the outside edge of the white material and sew down. Again making two seams if you like to make sure to get right up to the edge of your piping. You will lay your piping on top of your material so that when it flips right side out, the piping will be on the outside.


I actually sewed the piping so that it ran  off the edge of the material as seen below. I don't think this was necessary. I thought it would be good if the piping didn't end right at the sole because it might make unpleasant bumps for standing on, but I ended up taking the pattern in slightly and this step was basically eliminated and it didn't end up hurting the fit of the shoe on the soles anyway. Random tangent, just don't worry if your shoe doesn't look exactly like mine in the photos. Just make sure it looks like the graphics and you'll be good to go!

not like this :P

Next, you will lay your blue material on top and sew together, making sure right sides are together.


Cut wedges to ease flipping,and ensure the seams lay flat. Cut the piping off close to the seam if any is sticking out.


Flip inside out.


Sew along the center seam again, attaching the blue to the white, and to keep the heel from shifting around while you are wearing it.


Top stitch around the bottom of your pattern to hold everything in place,making sure that the center seam is laying flat. I forgot to do this step, but please do it, it will save you a potential headache later!


Now the next step is to sew all the pieces together to make a wearable shoe!

22 February 2014

Blossom Pattern 6: Sewing 2 (Uppers)

For the uppers, I added piping to give a more finished look. This is not necessary, but I will show you haw to do it, since I have it in mine. First, your going to want to get out your "zipper foot" if you have one. It will exceedingly help you to sew flush with your piping. It looks like this:


You will lay your piping on top of your material so that when it flips right side out, the piping will be on the outside.


When I sewed it, it took two passes at it, the first to make sure everything was held in place and not stretched out in goofy places, and the second time to get right up against the piping.

first pass


Next you will attach the blue material being sure to place it right sides together.


After The blue material is sewn on, you can cut wedges to ease turning, and flip right sides out.


Flatten, and top stitch around the outside 1/2 inch in.


We are now ready to start on the heels! Happy cobblering!

18 February 2014

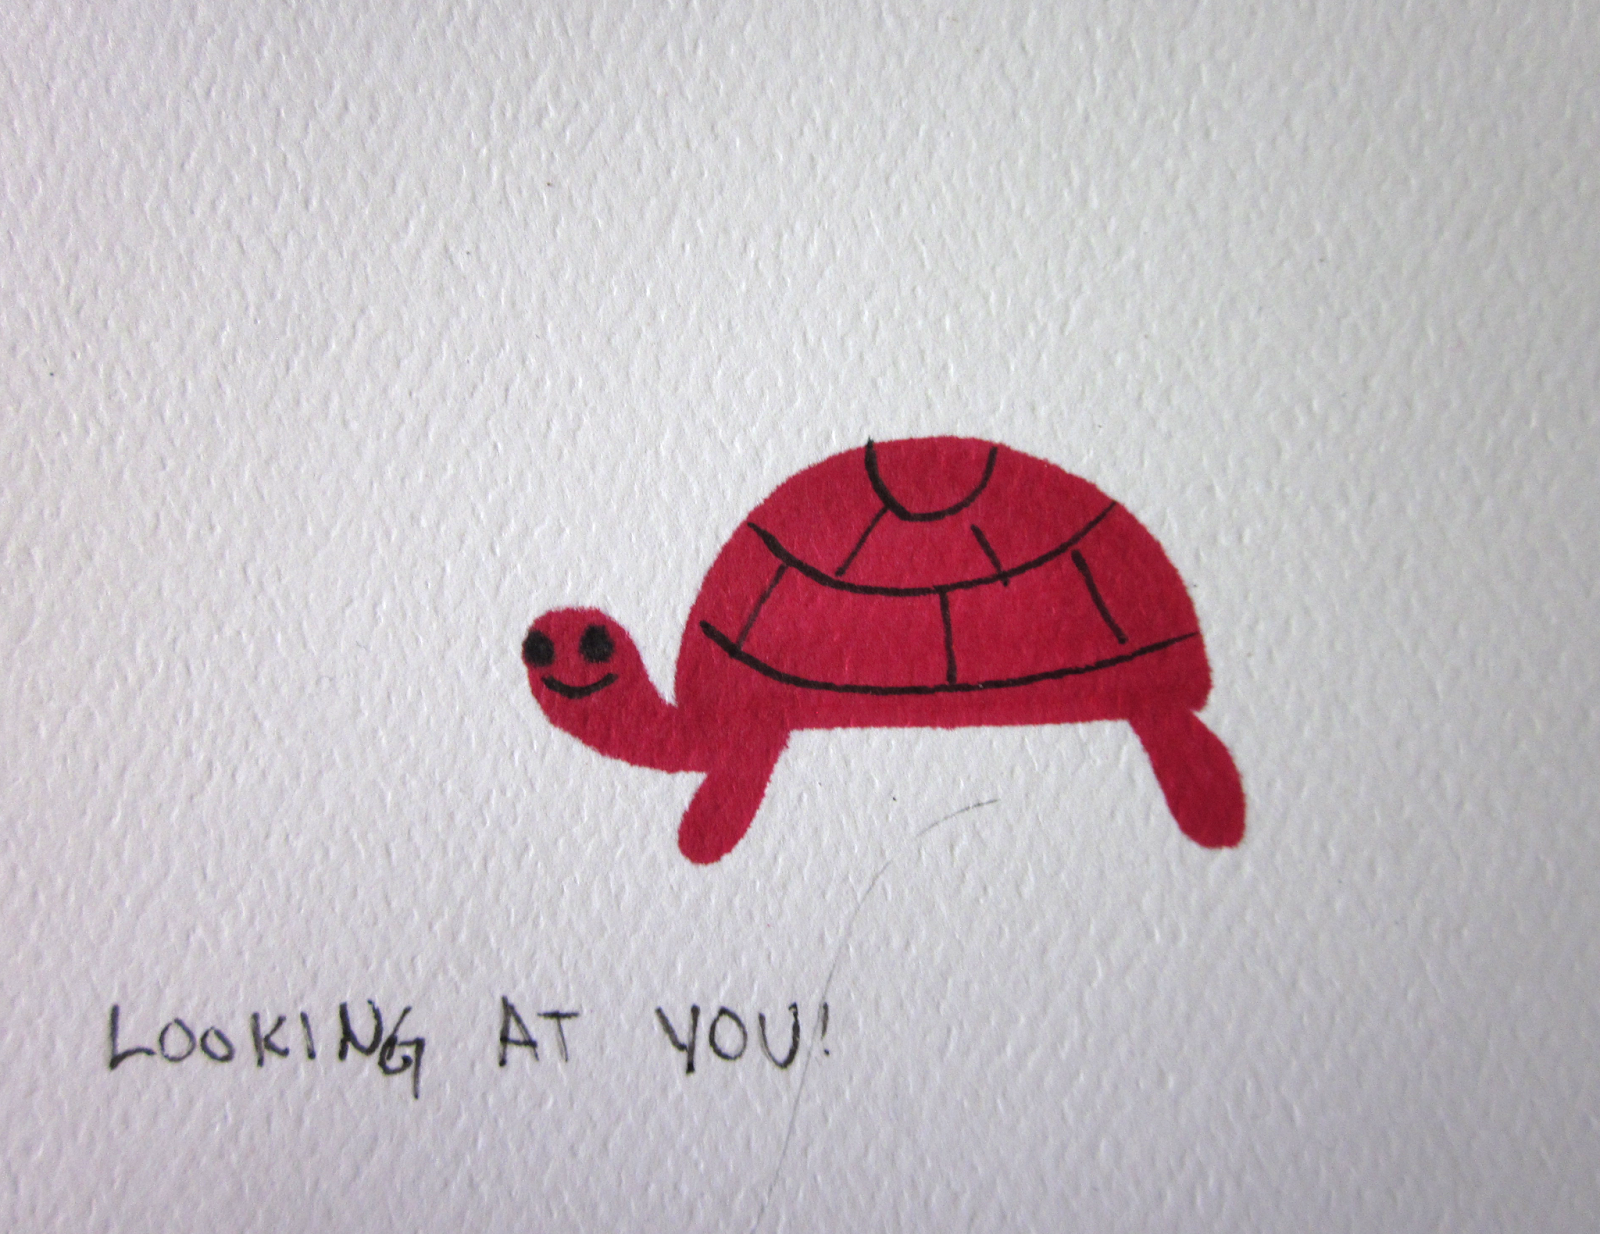
How to Draw a Turtle!

Here is a lovely turtle to smile at you when your Tuesday gets long. This turtle, like all my drawing tutorials, can be made using simple shapes anyone can draw!

For this tutorial, you will need:

A red or other colored Sharpie marker

A black fine tip Sharpie, or nice black gel type pen
Nice paper, preferably card stock

The ability to draw triangles, circles and curves lines
Below is a nice Ed Emberly style follow along guide :)


Popular Posts