26 August 2014

Regency Period Shoes!!

I have once again been PINspired! Here are a couple exquisite shoes I found on Pinterest that date back to the late 1700s, early 1800s, AKA The Regency Time Period!! (Read: Jane Austin's Pride and Prejudice time period)

The link to this one just sent me HERE?? But look at the gorgeous detail on these simple leather soles!

From 1810s. American, featured at the Met Museum Online

These shoes were worn once, at a wedding. Beautiful!
Some of them get quite fancy! Image from (MFA Boston)

Had to include these! I had very similar shoes a year or two ago and they were my favorite ever! (the met again)


Unfortunately, Pinterest provided beautiful pictures, but the links the pictures sent me on a dead end on how I could conjure up my own pair! :(

Finally, I stumbled across this lovely tutorial!

link to the lovely miss charlotte's tutorial!
Seems pretty simple, and similar to the blue ballet flats tutorial I did about 6 months ago or so. So,I will plan to try making some of these over the next few weeks, and I will show you how it turns out! Possibly tutorial in the future....

Hope you are inspired as I am! Happy shoemaking!!!

19 August 2014

Cool things I learned on Photoshop: Adjustment Layers and Layer Masks

I just got a new job working for Photosynthesis as a graphic designer/retail associate/IT camera "specialist". Part of this new job has made me realize how little I actually understand about Photoshop. As a Linux user, I have had access to several free and super awesome programs such as Inkscape and GIMP. However, I have mostly been learning as I go and playing around with things up until this point. And most of my useful knowledge is wrapped up in Inkscape, a vector program that is very similar to Adobe Illustrator.

However, now I need to learn how to work with raster images! Here are some really simple things I have learned so far that helps with maintaining image info. You want to keep the photo's original information at least until you are done editing to keep the photo from degrading as you edit.

Two Important things! 


Adjustment Layer

An Adjustment Layer is useful for changing things like the levels, hue/saturation, brightness/contrast, etc. Each time you use one of these, it removes some of the original data/info from the picture, which eventually can show up as patchy looking shading or poor transitioning colors.

For a visual, here is what happens to the levels when you adjust them without using an adjustment layer. The white you see between the bars after the adjustment is representative of the missing info!

To avoid this, we can simply select the adjustment layer button as seen above (looks like half black/ half white circle). This will add a layer to the picture to keep the original intact in case you want to edit it more later. If you decide you were too drastic when you brought the arrows in, for examle, you can adjust them back out a little later. This could not be done with just a straight level adjustment, because the level adjuster has erased the outsides when you brought them in earlier.

For fun, I have an image that I made an adjustment to using the adjustment layer levels.


Layer Mask

A layer mask is useful if you want to change or adjust only parts of an image. Here I am using it to brighten up the background of my picture. First you will want to make a copy of your background and make adjustments as necessary. I brightened my image quite a bit to remove some of the grey background from the picture. You can see this layer at the right.

As you can see, the picture doesn't look very good, but I just want to focus on the background right now, and that part looks good, so I will leave it like this for now.

Now, using the button you saw in the first image of this post (its the white circle one), I am going to create a layer mask. You can choose to have it all white or all black. Areas that are black represent transparent parts, and white is visible. I want the brightened background to show up, so I am going to make the layer black, and use the brush tool color the background area white. Make sense?


So the image on the left side represents what was visible in the white areas, and invisible in black areas. So in the end only the background of the photo is brightened, and the original picture shows through in the black areas.

And because we were geniuses and used a layer mask, the original photo remains unaltered in case you decide the background does not need to be lightened! Woo!

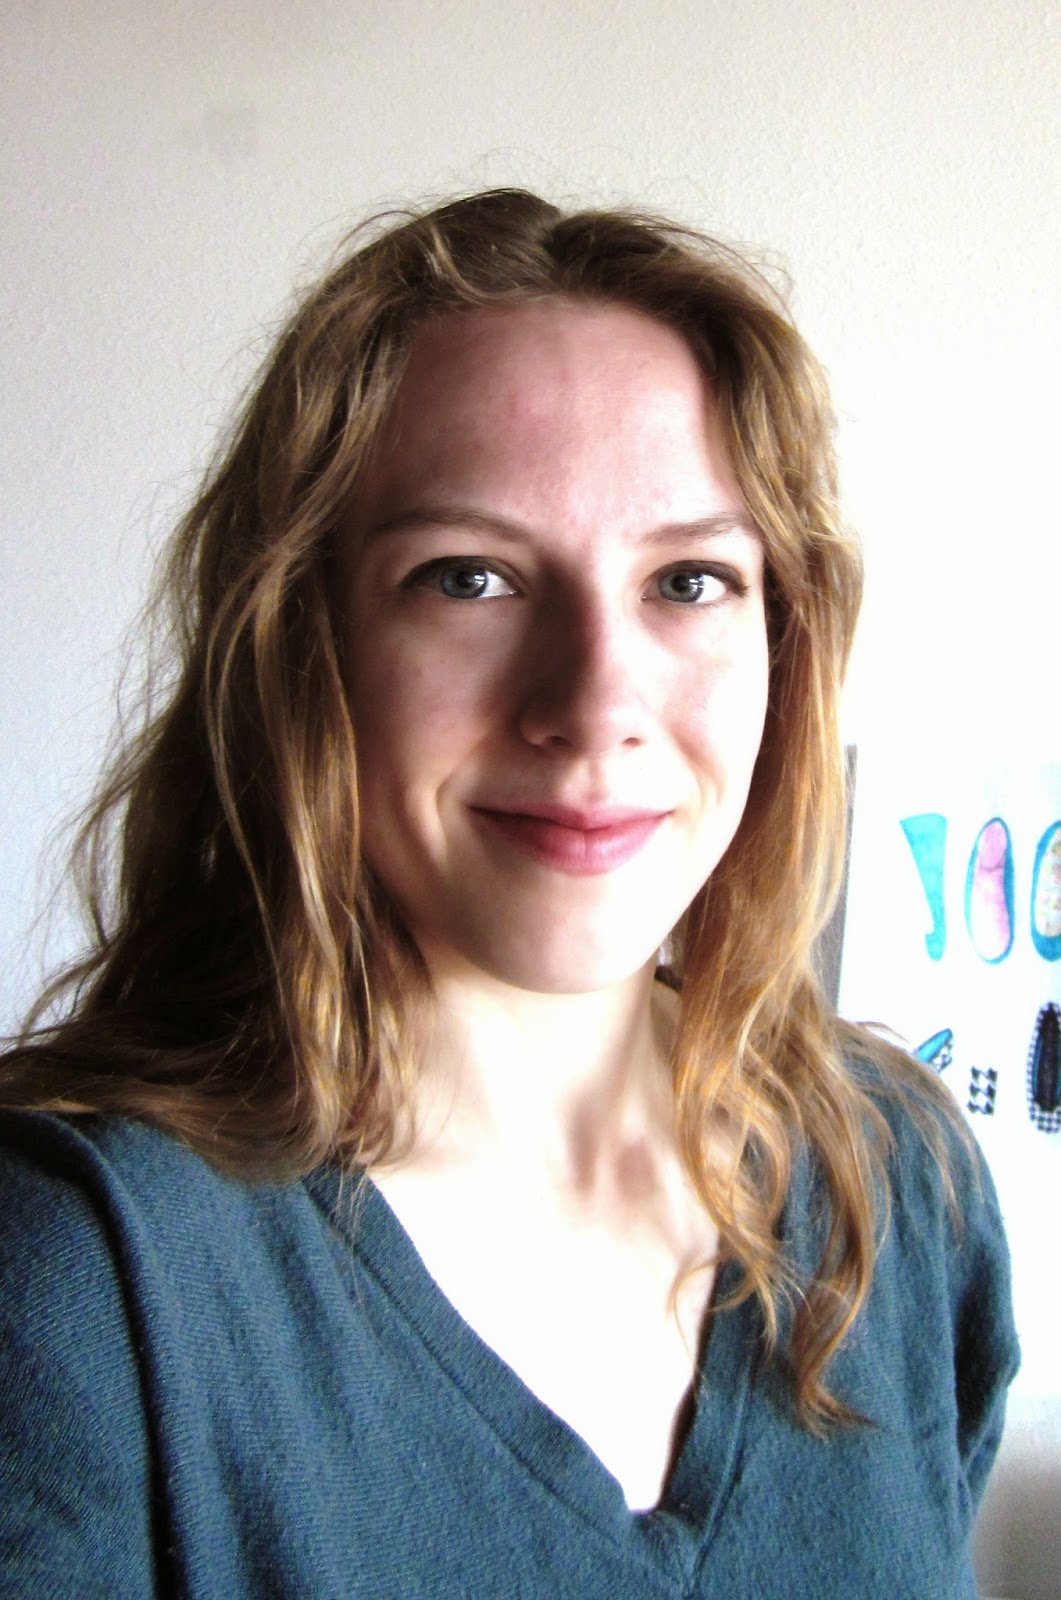
Here is a picture of the before and after on the layer mask. Pretty good for a "bored one day selfie"!!


P.S. Photoshop people! Am I making a fool of myself or is my info accurate?? I am learning as I go, and would LOVE not to lead people astray! Please leave any comments about and inaccurate info I have above! Thanks!

05 August 2014

Co-wash your hair people!

see! Wavy, not frizzy!
Some time last year I shared a post about how I wash my face using only natural ingredients, so I thought I would share my method for washing my hair as well. Around the time I started using baking soda to wash my face, I was also experimenting with using it to wash my hair as well. Apparently you can use the baking soda as hair wash and vinegar as a conditioner. The science behind it is that the baking soda causes the scales on your hair to open up to allow water to come in and dirt, oils etc. to escape. The vinegar, which has a similar pH balance to hair, helps to close the scales afterwards to keep the hair soft, shiny and strong.

In theory. I loved the idea of such simple and natural ingredients to not only on my face, but also my hair. However, I just couldn't get the balance right. My hair just continued to feel dry. It looked ok (not frizzy) but it felt so dry.

So I gave the idea up and decided to try co-washing. Co-washing is using conditioner only to wash your hair on a regular basis, and occasionally using shampoo maybe, if you want to. I have been doing this for about a year and I love it! My hair is so much less frizzy overall, and it behaves much better after I style it. Used to be if I straightened or curled or even blow-dried my hair, within a half hour the humidity would put me back to square one! The picture above is of my hair today. I didn't do anything special with it, no products, nothing, just washed and then raced off to work. Its not perfect, but it was fairly humid today, so it held up really well. I used to shampoo it about once a week, but lately it has been more like every other week. I find that really rinsing well at the end makes me not have to shampoo as often.

I first read about co-washing on naturallycurly.com, but I don't believe you really need to have curly hair to follow their ideas. Mine is wavy, and I get some ringlets around my face during the most humid days in the Iowa July and August weather, but in the winter it stays pretty straight. Or frizzy/straightish. I find that the Naturally Curly website is incredibly difficult to use, however, so I decided to provide my own tutorial here! (Complete with products I have tried that work for me)

 Here is what I do:

  1. Wet hair thoroughly
  2. Add conditioner to scalp and rub in, making sure it is saturated to the scalp.
  3. Add more to the middle of hair. Make sure it is saturated as well.
  4. Saturate the ends with any left over conditioner or add more.
  5. You will use a lot more conditioner than you usually do. I probably use a good Tablespoon or two each time I wash. You want the hair to be pretty slippery feeling to ensure that there is enough in. (Optional: Comb in shower with a wide tooth comb before rinsing.)
  6. Rub your scalp really well to work all the conditioner in to your hair. The conditioner has a small amount of soap to remove dirt and things, but you need to work a little harder at getting it to work. Work it up into a bit of a lather. It will not bubble like shampoo, but it will get a little bubbly. I find that if I do not use enough, sometimes the hair near my scalp on the back of my head remains a little greasy feeling at the end.
  7. Rinse really really well. 


 The most important thing to remember when you chose a conditioner is that it not have any silicones in it. Silicones help to smooth the hair down after you wash so that it can look silky smooth. This is like the more lab-chemical  version of what the vinegar does. Sulphates in shampoo act as the baking soda to help open up the scales and get rid of the silicones. However, silicones really only acts as a band-aid to cover up damages to your hair, rather than to make it strong and healthy. If you only condition your hair, these silicones will build up in your hair, so we need to make sure the conditioner we use is silicone free. 

Here is a list of some silicone free hair products you can try!

I will make another post about the products I have tried and currently use.
Good luck! Please feel free to leave any questions or tell me how your co-washing experience went! 

(After a while searching, I found the breakdown of the "curly girl method" which is basically a tutorial for how to co-wash your hair. Doesn't have cool illustrations though...)

04 August 2014

Super Rad Tiny Houses

tiny houses for the (previously) homeless
So Pinterest is being dumb and not letting me pin the awesome things I am finding in my travels on the internet, so I decided to post a few pictures here for a work-around to the ole' Pinterest machine.

For a while now, Wayne and I have been really interested in the Tiny House Movement. I don't know if its an actual movement or not, but people who like to live in super small spaces, because, well, we maybe don't need as much space as we have led ourselves to believe. A movement back toward simpler times, where we didn't need a gadget for each and every thing we do. They have their own blog. That means it must be a movement, right?

Besides, even if you want to be all modern and stuff, you can really simplify a lot down to just your phone and computer these days right? This isn't just for the Little House on the Prairie people. City folks can get excited about this stuff too. :)

Anyhow, I just saw two mini sizes houses on the Tiny House Talk Blog that I just thought were really neat. First one, because who doesn't love gorgeous simple rustic looking stained wood panelling and circle shaped windows? Also Hawaii?? This one is 200 sq ft and features a loft area for the bed and custom fit furniture. I only wish there was a picture of the kitchen and bathroom!

link to this beauty!


The second one is a mobile tiny littl thing, at a miniature 160 sq ft (not including 2nd floor). The thing I like about this next one, is not only does it look super cute and neat and tidy, but the people claim that they have already been living in it for a month! I want a home that looks like this after a month! I am much more prone to leaving messes, but maybe if it was as small as theirs I would have less stuff? One can hope. Here is their adorable kitchen.

link to their home!
 And their cozy 2nd floor/loft bedroom! 

link to article

Does anyone else want a tiny house now? 


Popular Posts