However, now I need to learn how to work with raster images! Here are some really simple things I have learned so far that helps with maintaining image info. You want to keep the photo's original information at least until you are done editing to keep the photo from degrading as you edit.
Two Important things!
Adjustment Layer
An Adjustment Layer is useful for changing things like the levels, hue/saturation, brightness/contrast, etc. Each time you use one of these, it removes some of the original data/info from the picture, which eventually can show up as patchy looking shading or poor transitioning colors.For a visual, here is what happens to the levels when you adjust them without using an adjustment layer. The white you see between the bars after the adjustment is representative of the missing info!
To avoid this, we can simply select the adjustment layer button as seen above (looks like half black/ half white circle). This will add a layer to the picture to keep the original intact in case you want to edit it more later. If you decide you were too drastic when you brought the arrows in, for examle, you can adjust them back out a little later. This could not be done with just a straight level adjustment, because the level adjuster has erased the outsides when you brought them in earlier.
For fun, I have an image that I made an adjustment to using the adjustment layer levels.
Layer Mask
 A layer mask is useful if you want to change or adjust only parts of an image. Here I am using it to brighten up the background of my picture. First you will want to make a copy of your background and make adjustments as necessary. I brightened my image quite a bit to remove some of the grey background from the picture. You can see this layer at the right.
 As you can see, the picture doesn't look very good, but I just want to focus on the background right now, and that part looks good, so I will leave it like this for now.
Now, using the button you saw in the first image of this post (its the white circle one), I am going to create a layer mask. You can choose to have it all white or all black. Areas that are black represent transparent parts, and white is visible. I want the brightened background to show up, so I am going to make the layer black, and use the brush tool color the background area white. Make sense?
So the image on the left side represents what was visible in the white areas, and invisible in black areas. So in the end only the background of the photo is brightened, and the original picture shows through in the black areas.
And because we were geniuses and used a layer mask, the original photo remains unaltered in case you decide the background does not need to be lightened! Woo!
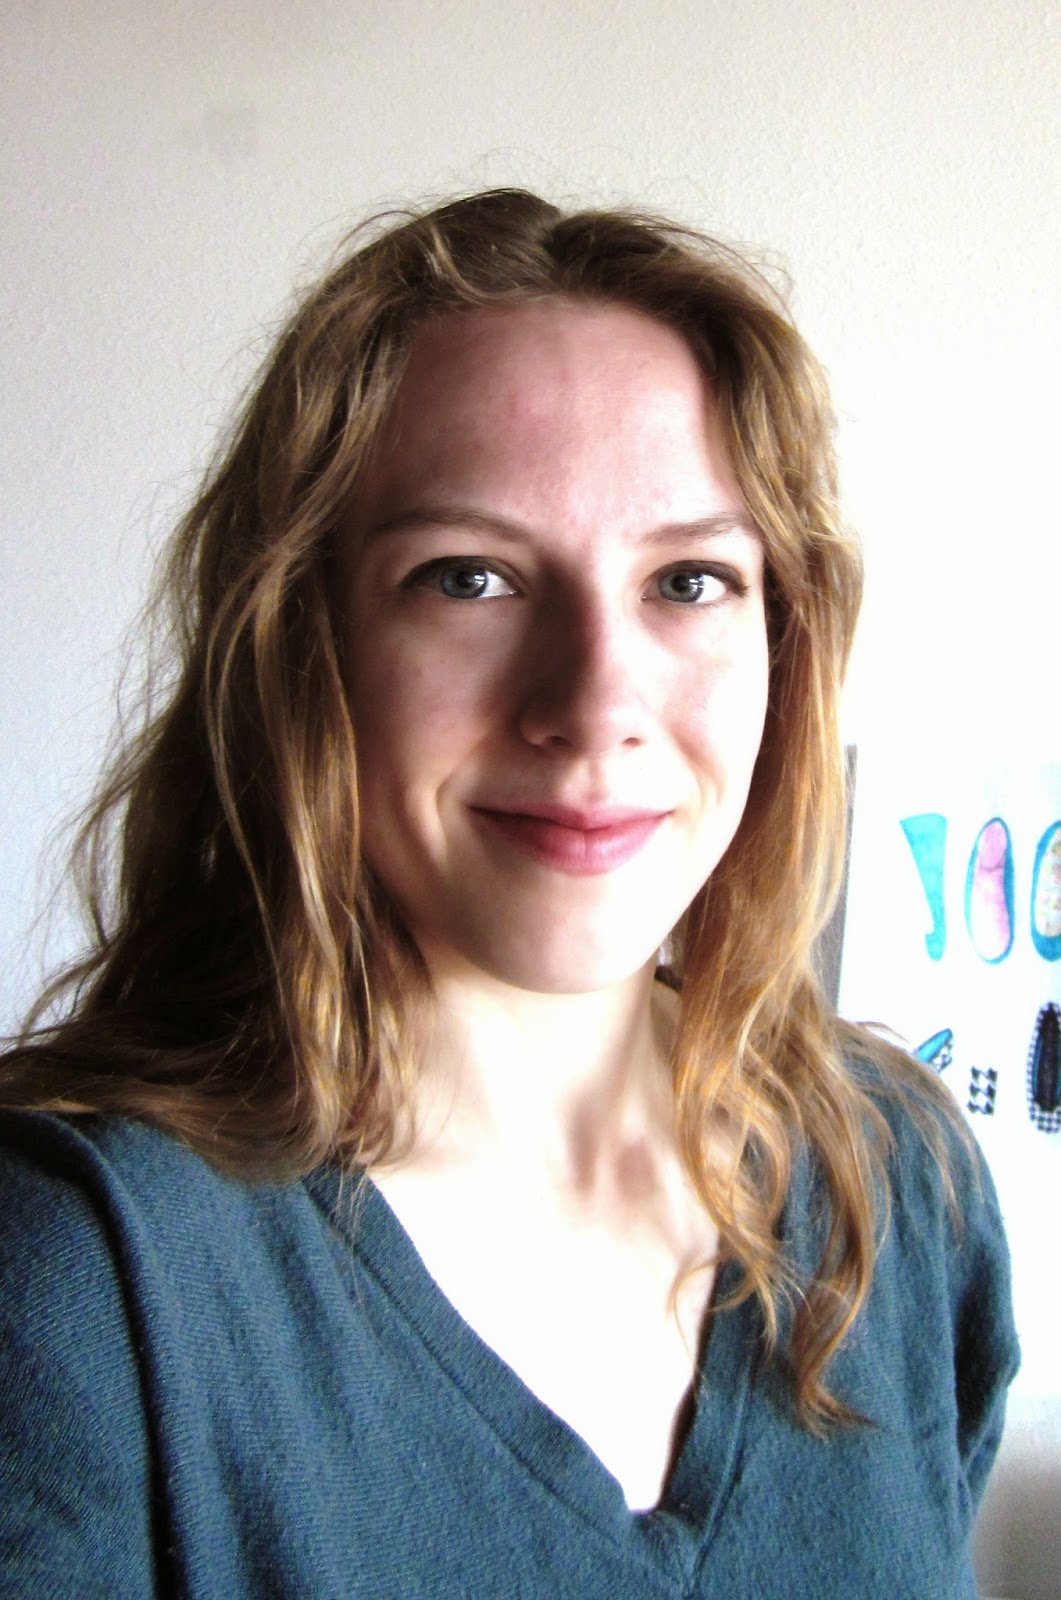
Here is a picture of the before and after on the layer mask. Pretty good for a "bored one day selfie"!!
P.S. Photoshop people! Am I making a fool of myself or is my info accurate?? I am learning as I go, and would LOVE not to lead people astray! Please leave any comments about and inaccurate info I have above! Thanks!


No comments:
Post a Comment