Hello all,
Its been a while...
Well I did something interesting today so I though I would share!
Make your own ceruleanJAY themed origami bird!
Showing posts with label Art Tutorials. Show all posts
06 May 2015
19 August 2014
Cool things I learned on Photoshop: Adjustment Layers and Layer Masks
I just got a new job working for Photosynthesis as a graphic designer/retail associate/IT camera "specialist". Part of this new job has made me realize how little I actually understand about Photoshop. As a Linux user, I have had access to several free and super awesome programs such as Inkscape and GIMP. However, I have mostly been learning as I go and playing around with things up until this point. And most of my useful knowledge is wrapped up in Inkscape, a vector program that is very similar to Adobe Illustrator.
However, now I need to learn how to work with raster images! Here are some really simple things I have learned so far that helps with maintaining image info. You want to keep the photo's original information at least until you are done editing to keep the photo from degrading as you edit.
For a visual, here is what happens to the levels when you adjust them without using an adjustment layer. The white you see between the bars after the adjustment is representative of the missing info!
To avoid this, we can simply select the adjustment layer button as seen above (looks like half black/ half white circle). This will add a layer to the picture to keep the original intact in case you want to edit it more later. If you decide you were too drastic when you brought the arrows in, for examle, you can adjust them back out a little later. This could not be done with just a straight level adjustment, because the level adjuster has erased the outsides when you brought them in earlier.
For fun, I have an image that I made an adjustment to using the adjustment layer levels.
A layer mask is useful if you want to change or adjust only parts of an image. Here I am using it to brighten up the background of my picture. First you will want to make a copy of your background and make adjustments as necessary. I brightened my image quite a bit to remove some of the grey background from the picture. You can see this layer at the right.
As you can see, the picture doesn't look very good, but I just want to focus on the background right now, and that part looks good, so I will leave it like this for now.
Now, using the button you saw in the first image of this post (its the white circle one), I am going to create a layer mask. You can choose to have it all white or all black. Areas that are black represent transparent parts, and white is visible. I want the brightened background to show up, so I am going to make the layer black, and use the brush tool color the background area white. Make sense?
So the image on the left side represents what was visible in the white areas, and invisible in black areas. So in the end only the background of the photo is brightened, and the original picture shows through in the black areas.
And because we were geniuses and used a layer mask, the original photo remains unaltered in case you decide the background does not need to be lightened! Woo!
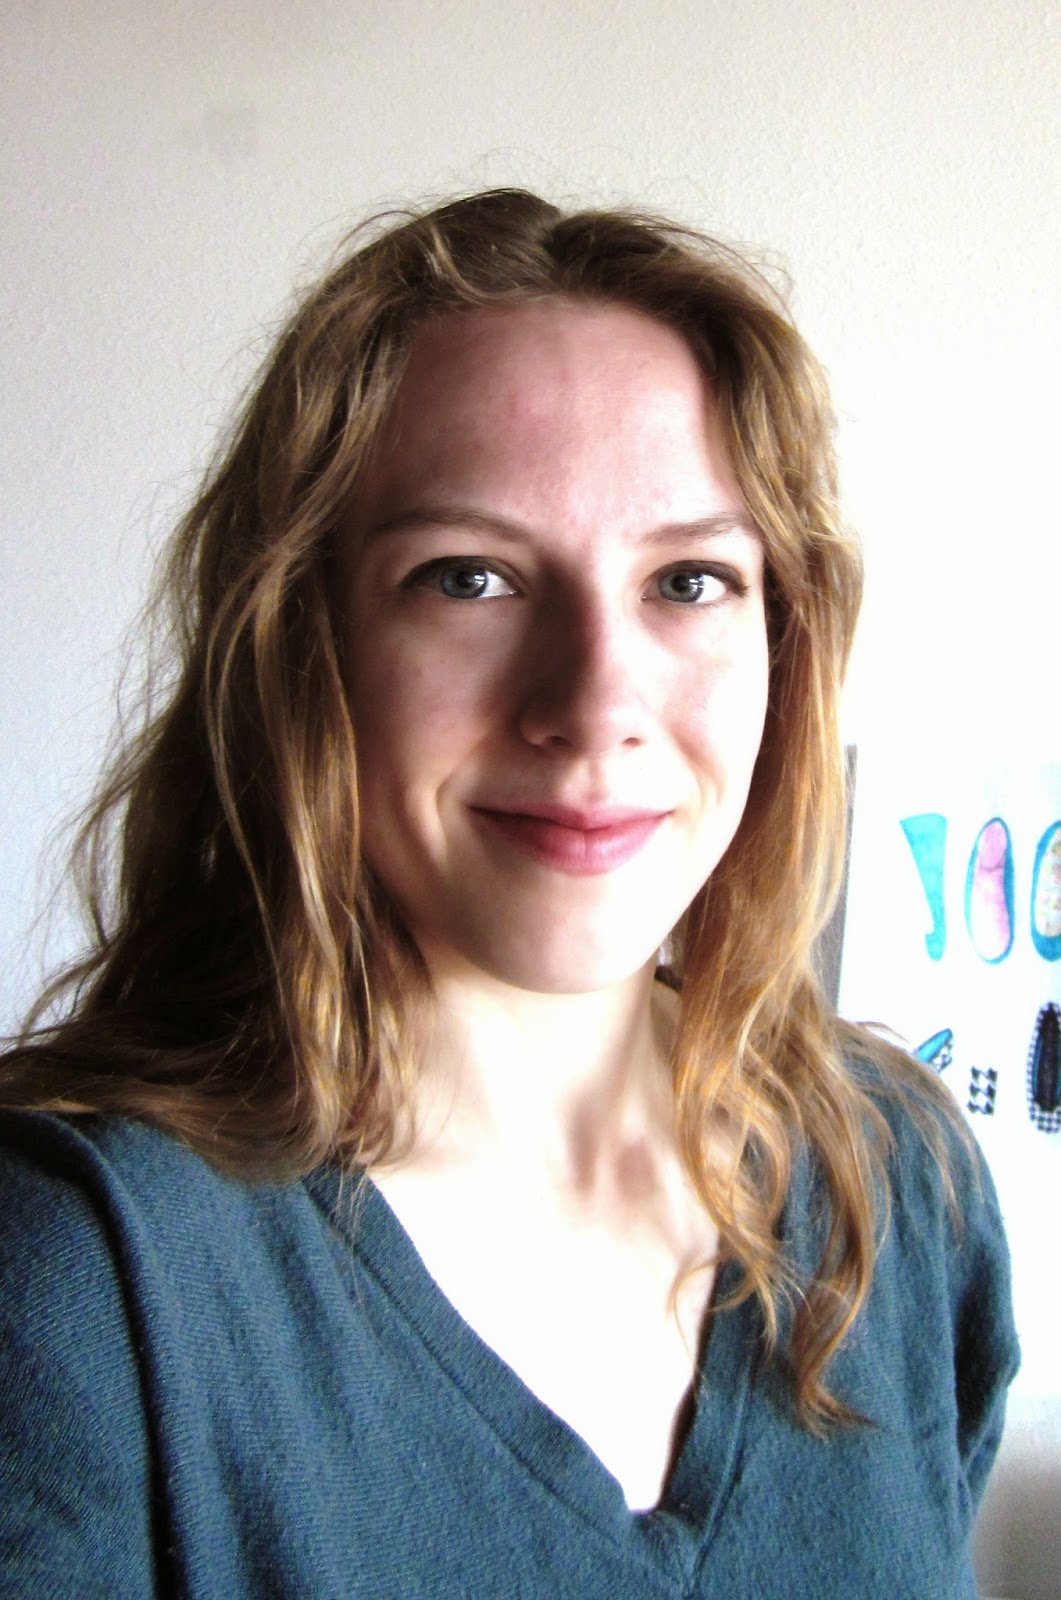
Here is a picture of the before and after on the layer mask. Pretty good for a "bored one day selfie"!!
P.S. Photoshop people! Am I making a fool of myself or is my info accurate?? I am learning as I go, and would LOVE not to lead people astray! Please leave any comments about and inaccurate info I have above! Thanks!
However, now I need to learn how to work with raster images! Here are some really simple things I have learned so far that helps with maintaining image info. You want to keep the photo's original information at least until you are done editing to keep the photo from degrading as you edit.
Two Important things!
Adjustment Layer
An Adjustment Layer is useful for changing things like the levels, hue/saturation, brightness/contrast, etc. Each time you use one of these, it removes some of the original data/info from the picture, which eventually can show up as patchy looking shading or poor transitioning colors.For a visual, here is what happens to the levels when you adjust them without using an adjustment layer. The white you see between the bars after the adjustment is representative of the missing info!
To avoid this, we can simply select the adjustment layer button as seen above (looks like half black/ half white circle). This will add a layer to the picture to keep the original intact in case you want to edit it more later. If you decide you were too drastic when you brought the arrows in, for examle, you can adjust them back out a little later. This could not be done with just a straight level adjustment, because the level adjuster has erased the outsides when you brought them in earlier.
For fun, I have an image that I made an adjustment to using the adjustment layer levels.
Layer Mask
A layer mask is useful if you want to change or adjust only parts of an image. Here I am using it to brighten up the background of my picture. First you will want to make a copy of your background and make adjustments as necessary. I brightened my image quite a bit to remove some of the grey background from the picture. You can see this layer at the right. As you can see, the picture doesn't look very good, but I just want to focus on the background right now, and that part looks good, so I will leave it like this for now.
Now, using the button you saw in the first image of this post (its the white circle one), I am going to create a layer mask. You can choose to have it all white or all black. Areas that are black represent transparent parts, and white is visible. I want the brightened background to show up, so I am going to make the layer black, and use the brush tool color the background area white. Make sense?
So the image on the left side represents what was visible in the white areas, and invisible in black areas. So in the end only the background of the photo is brightened, and the original picture shows through in the black areas.
And because we were geniuses and used a layer mask, the original photo remains unaltered in case you decide the background does not need to be lightened! Woo!
Here is a picture of the before and after on the layer mask. Pretty good for a "bored one day selfie"!!
P.S. Photoshop people! Am I making a fool of myself or is my info accurate?? I am learning as I go, and would LOVE not to lead people astray! Please leave any comments about and inaccurate info I have above! Thanks!
17 June 2014
Lady Gnome Tutorial
A few weeks ago, I made a tutorial on how to draw a garden gnome. I am finally getting around to the lady gnome tutorial I promised. Better late than never, right?
Here she is! Remember, USE PENCIL for the fist 14 steps. You will be very sad when you get 14 steps in and realize you wanted to erase everything but you can't.
Good luck!
For this tutorial, you will need:
- pencil
- black pen
- eraser
- colored markers to make pretty!
Here she is! Remember, USE PENCIL for the fist 14 steps. You will be very sad when you get 14 steps in and realize you wanted to erase everything but you can't.
Good luck!
10 June 2014
Turn Animal Tutorials into Art
So I have been spending the last few months making follow along animal drawing tutorials for you guys, and I just wanted to share with you some of the art I have created using these very same tutorials. I followed all the same steps, except this time I used a paintbrush and acrylic paint instead of the markers I typically suggest. I put these pictures here to inspire any and all who see them, not because of my awesome abilities, but that everyone can make awesome things if they put their mind to it and have some simple tools/steps to follow.
So there you go! Some simple examples of how I have used my drawing tutorials to make pretty cool, legit art!
1. Red Deer with Sunglasses
The sunglasses were a mistake. I have no idea how my paintbrush managed that. Sometimes mistakes ruin things, sometimes they make the art alive and more interesting. I like to think that sunglasses deer is way more awesome than the one I was intending!2. Garden Gnome
This one turned out a little different than I expected, though I still like it. I added rosy cheeks to the gnome, and some basic shading. Maybe I should make a tutorial about that next.3. Tree Dryad with Cat
Ok so the cat is actually the part I used in this painting that is also in a tutorial. Also the tree. But I think the cat and tree turned out way better in the painting than the tree nymph goddess lady.So there you go! Some simple examples of how I have used my drawing tutorials to make pretty cool, legit art!
13 May 2014
How to Draw a Garden Gnome
Note: Please do the first 19 steps with a pencil, and try not to draw too hard, because on step 21, you will be erasing all your pencil marks!
For this tutorial, you will need:
- pencil
- black pen
- eraser
- colored markers to make pretty!
Good luck! Show me any pictures you make, and ask me any questions you may have, I want your garden decoration to be super awesome!!! (lady gnome next week!)
Tada!
Good luck!!
06 May 2014
How to Draw a Chicken
Hope everyone's week is going well! I myself have had a pretty terrible one! Transitions are always hard, but they are the worst when friends move away and leave for good. You know they will always be your friends, but things will forever be different.I have lived most of my life with friends coming and going, probably moreso than most, but it never really gets easier. Certainly not for the introvert who is shy and has a hard time connecting with people quickly.
But life will go on, and things will get better. They always do. And it is helpful to know that the ones leaving go on to chase their dreams and go on grand adventures.
How about a chicken tutorial to lighten the mood? I think this one is confused about all the forgotten Easter eggs!
09 April 2014
How to Draw a Duck
You will need:
- pretty marker, one for beak, one for rest of the body
- black marker or pen
- paper
On a side note, I am having a lot of difficulty photographing my drawings as of late. No matter how much light and what camera setting I have for the photograph, it seems to come out really gray. Does anyone have any suggestions for fixing ths problem? I did this week's in inkscape but I really would like to physically draw my drawing tutorials. If it helps at all, it looks nice and white on my camera, but all gray and yucky when I load it onto the computer. I have to put the photo through extensive editing, and even then its a bit gray, and then the image is compromised as well. HELP!
How to Draw a Deer
01 April 2014
How to Draw a T-Rex
Sometimes it is fun to draw animals that only exist in our museums, our imaginations and long ago. Now, for the mightiest of dinosaurs of them all, the Tyrannosaurus Rex!
For this Tutorial, You will Need:
- A colored marker, or two
- A black pen
- Some paper
28 March 2014
How to Draw a Killer Whale
18 March 2014
How to Draw a Fox
People are going crazy over foxes these days, and for good reason! They are awesome and cute and I think I want one as a pet someday! I guess I'll have to stick to drawing cute ones instead. Here is a quick tutorial on how to draw a fox of your very own.
For this Tutorial, You will Need:
- A red,pink or orange marker
- A black pen
- Some paper
13 March 2014
How to Use Blogger to Create an Attractive Portfolio
Want to make an attractive portfolio that is simple to update? Making an online portfolio can be a simple way for people to easily find your work. I found an incredibly easy way to make one using Blogger that looks very professional.
First sign up for a Blogger blog. When you are on the main screen, choose template, then customize.
Once you have that opened, choose dynamic views in the template designer. You can look through the different options, but when you decide which view you want to be the default (the view people see when they first enter your site) click that option in the black area under the dynamic views selection. If you just choose the view in the preview area below, it will not be saved as the default. I chose sidebar.
If you only want people to be able to see the view you have selected, this is a great tutorial for how to disable other views. If you do not do this, people can scroll through the options and decide how they will like to look at your content. I chose to leave it open ended.
Then you can edit your site to how you want it to look. I changed very little, since I liked the clean cut look of the original. I just changed the header (the dynamic view options) to font "Walther Turncoat" and the title of the blog to font "Syncopate."
To keep the look simple, when you add a new piece, make the title of your piece be the title of your blog post, and add the image in the text box area.
I make all my images extra large, but you can make them smaller if you like. I prefer a larger image to one that can be seen in its entirely without scrolling. If I wasn't lazy, I would go in and edit the dimensions in the HTML mode to exactly fit your screen.
Depending on the screen size that other people are using to view your site, it might cut off anyways, so I keep it simple with the extra large size and call it good.
So there you have it, a simple, clean looking portfolio you can easily update and can easily be accessed online. Click here to see my portfolio better.
First sign up for a Blogger blog. When you are on the main screen, choose template, then customize.
Once you have that opened, choose dynamic views in the template designer. You can look through the different options, but when you decide which view you want to be the default (the view people see when they first enter your site) click that option in the black area under the dynamic views selection. If you just choose the view in the preview area below, it will not be saved as the default. I chose sidebar.
If you only want people to be able to see the view you have selected, this is a great tutorial for how to disable other views. If you do not do this, people can scroll through the options and decide how they will like to look at your content. I chose to leave it open ended.
Then you can edit your site to how you want it to look. I changed very little, since I liked the clean cut look of the original. I just changed the header (the dynamic view options) to font "Walther Turncoat" and the title of the blog to font "Syncopate."
To keep the look simple, when you add a new piece, make the title of your piece be the title of your blog post, and add the image in the text box area.
I make all my images extra large, but you can make them smaller if you like. I prefer a larger image to one that can be seen in its entirely without scrolling. If I wasn't lazy, I would go in and edit the dimensions in the HTML mode to exactly fit your screen.
Depending on the screen size that other people are using to view your site, it might cut off anyways, so I keep it simple with the extra large size and call it good.
So there you have it, a simple, clean looking portfolio you can easily update and can easily be accessed online. Click here to see my portfolio better.
11 March 2014
How to Draw a Whale
For this Tutorial, You will Need:
- A blue marker
- A black pen
- Some paper
04 March 2014
How to Draw a Dinosuar!
For this Tutorial, You will Need:
- A purple marker
- A black pen
- some paper
25 February 2014
How to Draw a Bunny
With March just around the corner, everyone is looking forward to spring! And what a better way to start it out with a cute bunny drawing! Spring is in the air, at least on paper!
For
this tutorial, you will need:
- A red Sharpie pen
- A black fine tip Sharpie, or nice black gel type pen
- Nice paper, preferably card stock
- The ability to draw triangles, circles and curves lines
Below is a nice Ed Emberly style follow along guide :)
23 February 2014
How to Draw An Owl!
I'm at it again with the drawing tutorials! This time I made an owl using only simple shapes that anyone can draw!
A black fine tip Sharpie, or nice black gel type pen
Nice paper, preferably card stock
The ability to draw triangles, circles and curves lines
For
this tutorial, you will need:
A
blue Sharpie pen
A black fine tip Sharpie, or nice black gel type pen
Nice paper, preferably card stock
The ability to draw triangles, circles and curves lines
Below is a nice Ed Emberly style follow along guide :)
18 February 2014
How to Draw a Turtle!
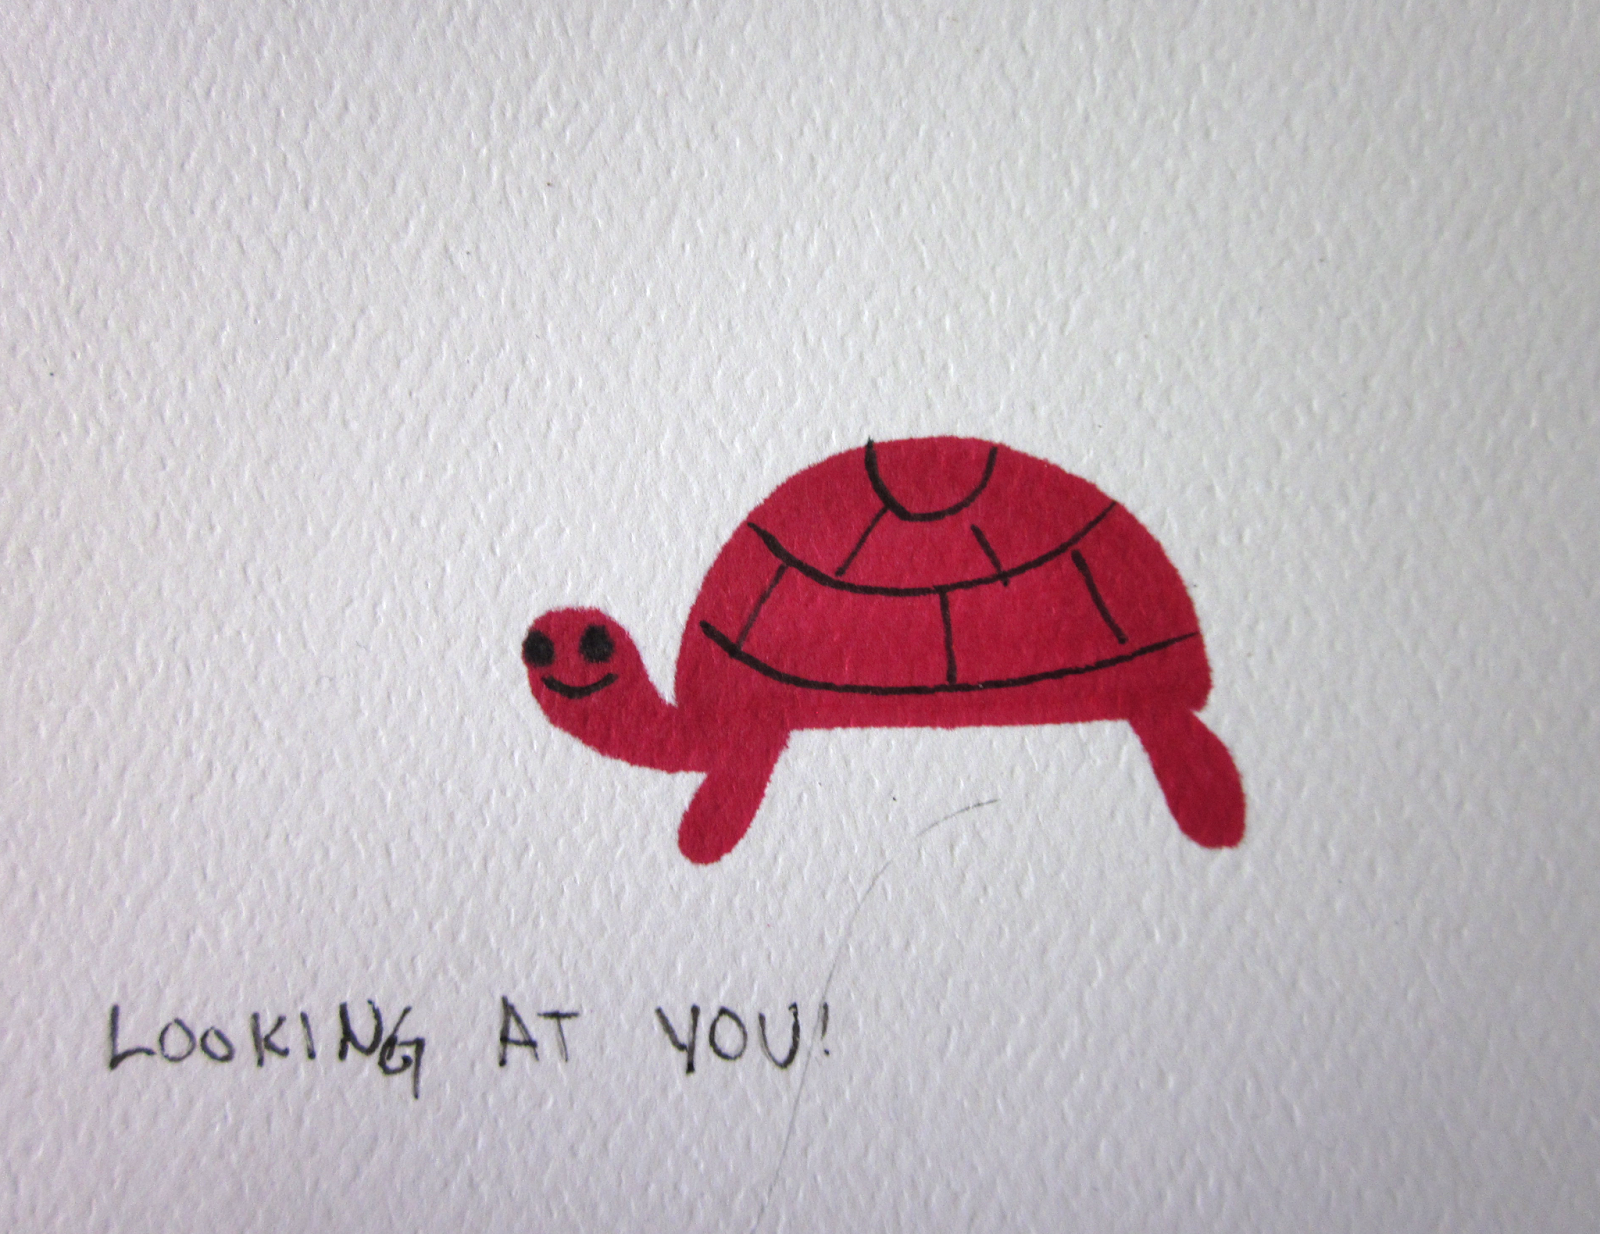
Here is a lovely turtle to smile at you when your Tuesday gets long. This turtle, like all my drawing tutorials, can be made using simple shapes anyone can draw!
For
this tutorial, you will need:
A
red or other colored Sharpie marker
A
black fine tip Sharpie, or nice black gel type pen
The ability to draw triangles, circles and curves lines
Below is a nice Ed Emberly style follow along guide :)
31 January 2014
How to Draw a Cute Kitty
I had so much fun making the puppy tutorial, I decided to try his arch enemy, the cat!! :) While the yorkie is a short, stocky built dog (at least when his fur is dry and fluffy!), the cat is a sleek, delicately built animal (as least before she becomes a fat cat!).
For
this tutorial, you will need:
A
red or pink Sharpie pen
A
black fine tip Sharpie, or nice black gel type pen
Nice
paper, preferably card stock
The ability to draw triangles, circles and curves lines
(read: beginner level!)
Below is a nice Ed Emberly style follow along guide :)
My Valentine is made using this tutorial as well as my previous post, How to Draw a Cute Yorkie Pup Valentine. I would love to see any Valentines you make or answer any questions you have so feel free to share!
|
Subscribe to:
Posts (Atom)