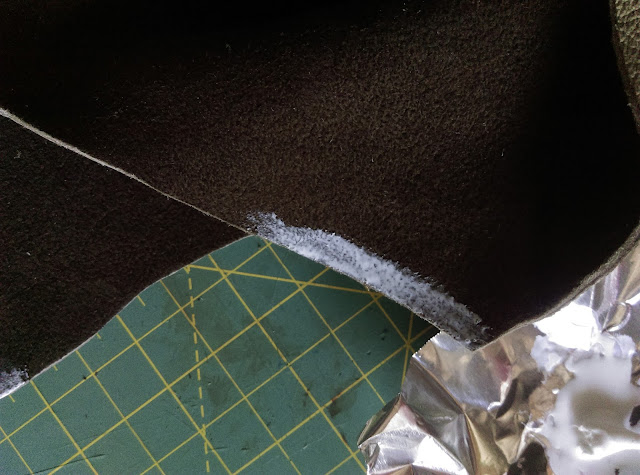
I use Eco-Flo Leather Craft Cement, and it seems to work great for this. It is a little messy if you just try to use the bottle to apply, so usually I pour a little out onto a piece of tinfoil or waxed paper and dip a cotton swab into the glue and use it like a paint brush to apply to the leather. This way, there are no drips or excess glue .
 What you do is to apply a thin line to the edge of your leather where you want to eventually stitch a seam. I would recommend not making the glue line any deeper than where the stitches will eventually be, so you do not have to rip the pieces apart later. I allowed for a quarter inch seam allowance, so I just made sure the glue was a quarter inch or less into the leather from the edge. Make sure to spread it out so that the glue will not ooze when you squeeze the seams together. I used the cotton swab for spreading and applying glue.
Basically, you just continue this down the seam for all of it that you want to glue together. I am leaving the pucker-toe unglued, since it would be too hard to glue an area that will be gathered on one piece and not on the other.

I tried this (gluing the pucker-toe) with Wayne's moccasin boots, and it didn't work out too great. There is so little area you want it to stick in between each pucker that it is very difficult to get even. Thankfully the cement was easy enough to get apart, so it wasn't a big deal, it just didn't help me any in the long run. I instead used the chalk markers to ensure that it puckered evenly along the toe. I placed one hole at each point I had marked with chalk on my pattern and then placed three evenly spaced holes in between each of these holes and this made the pucker turn out great without too much variation along the toe.
Here is how they turned out!


No comments:
Post a Comment